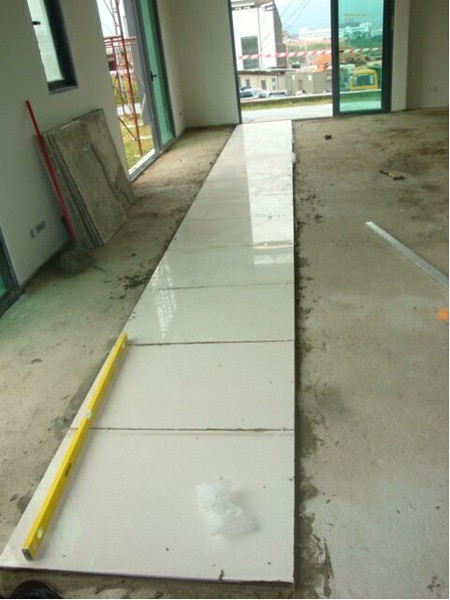
As promised, in my previous post I covered on House Renovation and breaking down the process into phases for better understanding. Phase I was Planning, a natural start to any project that one embarks on. No planning is a one way street to failure, unless you’re very lucky!
Now, after Phase I – which was Selection of Materials, Layout Planning and Grout Joint, Phase involves Preparatory Work @ Site.
Phase II – Preparatory Work @ Site
1. The following preparatory works are to be carried out to ensure proper tiling works;
• Surface preparation
• Screeding / Rendering ( if necessary )
• Setting out tiling
2. Surface preparation – The surface of the substrate should be level and comply to design specification, or to a tolerance of 3mm measured by a 2 meter straight edge. When the surface evenness is not enough, screen or render should be applied. The substrate should be free from any loose substance such as dust, debris, oil and grease that may reduce or inhabit adhesion of the next layer of material.
Any strong acid or alkali on the surface should be neutralized prior to the application of the next layer of material. The surface should be cleaned with broom and wash with water jet, if possible.
** TIP: MAKE SURE it’s done by a professional! :DD
3. Laying of screed/render –Screeding is the act of spreading and leveling off a layer of mortar to provide a true surface.
In order to determine the correct levels for the flooring to be laid, the setting of a common reference line (usually marked at the wall at 1m) should be established. This is to prevent any mismatch in levels such as ceramic flooring to living room against parquet flooring to bedrooms.
Screed and render should be air cured for at least 7 days. Pre-packed mortar is preferred over the conventional cement and sand mortar mix in order to achieve consistent mortar mix.
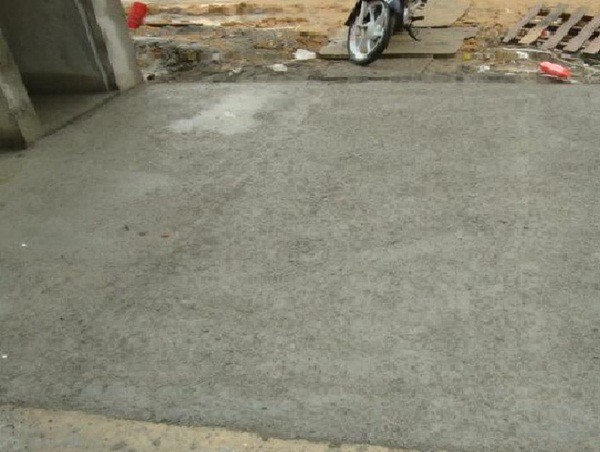
Below: Screeding of floor before tiling.
(more…)